Rodin add-on for Unity
Install Rodin Bridge and use Rodin generation controls in Unity.
Introduction
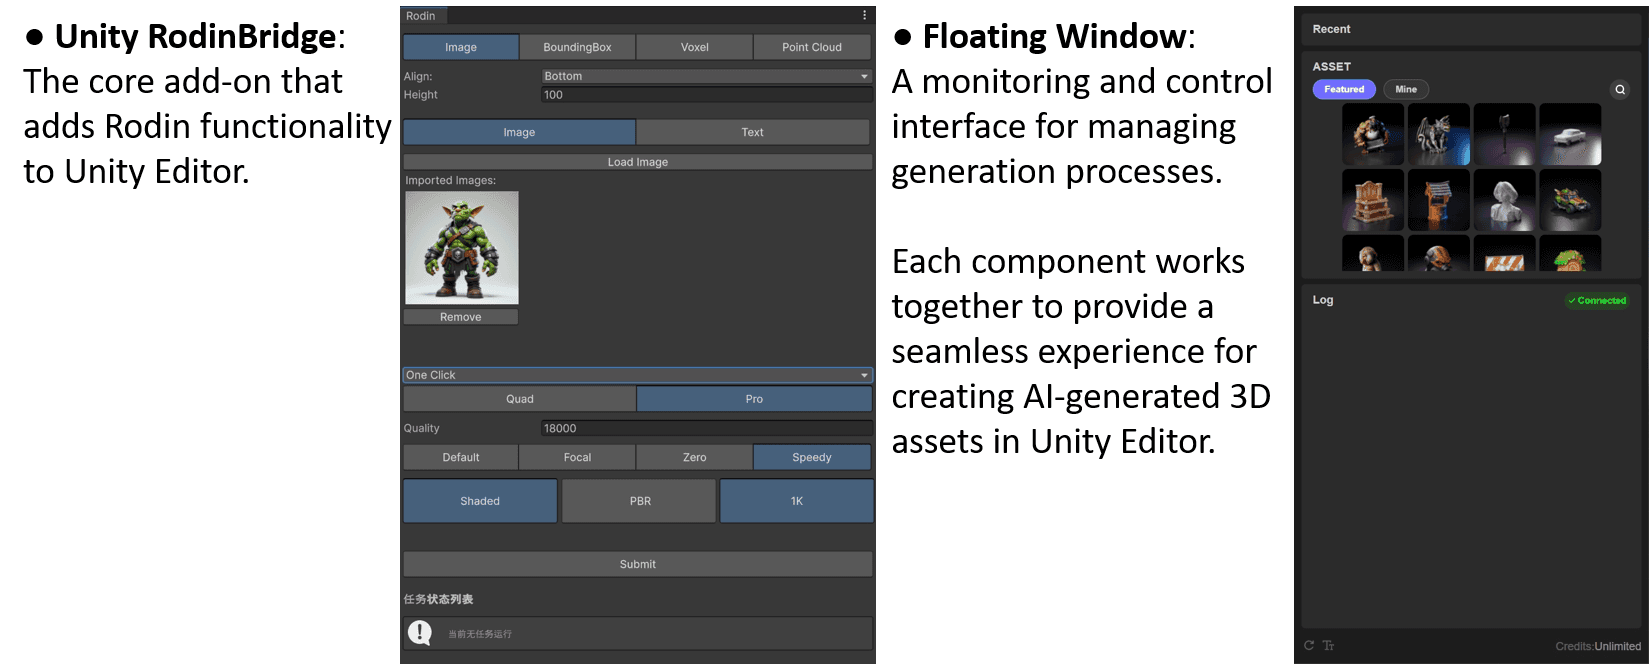
The Rodin add-on for Unity brings image-based Rodin generation into the Unity editor. You can configure a generation, use a selected scene object with ControlNet, and import completed assets while the Rodin web interface handles the connected generation session.
Overview
The Rodin Bridge panel connects your Unity workflow to Rodin generation controls.
Installation
Verified versions
Only Unity 2023.x and later have been verified.
Installation steps
- Extract the add-on archive to a local folder.
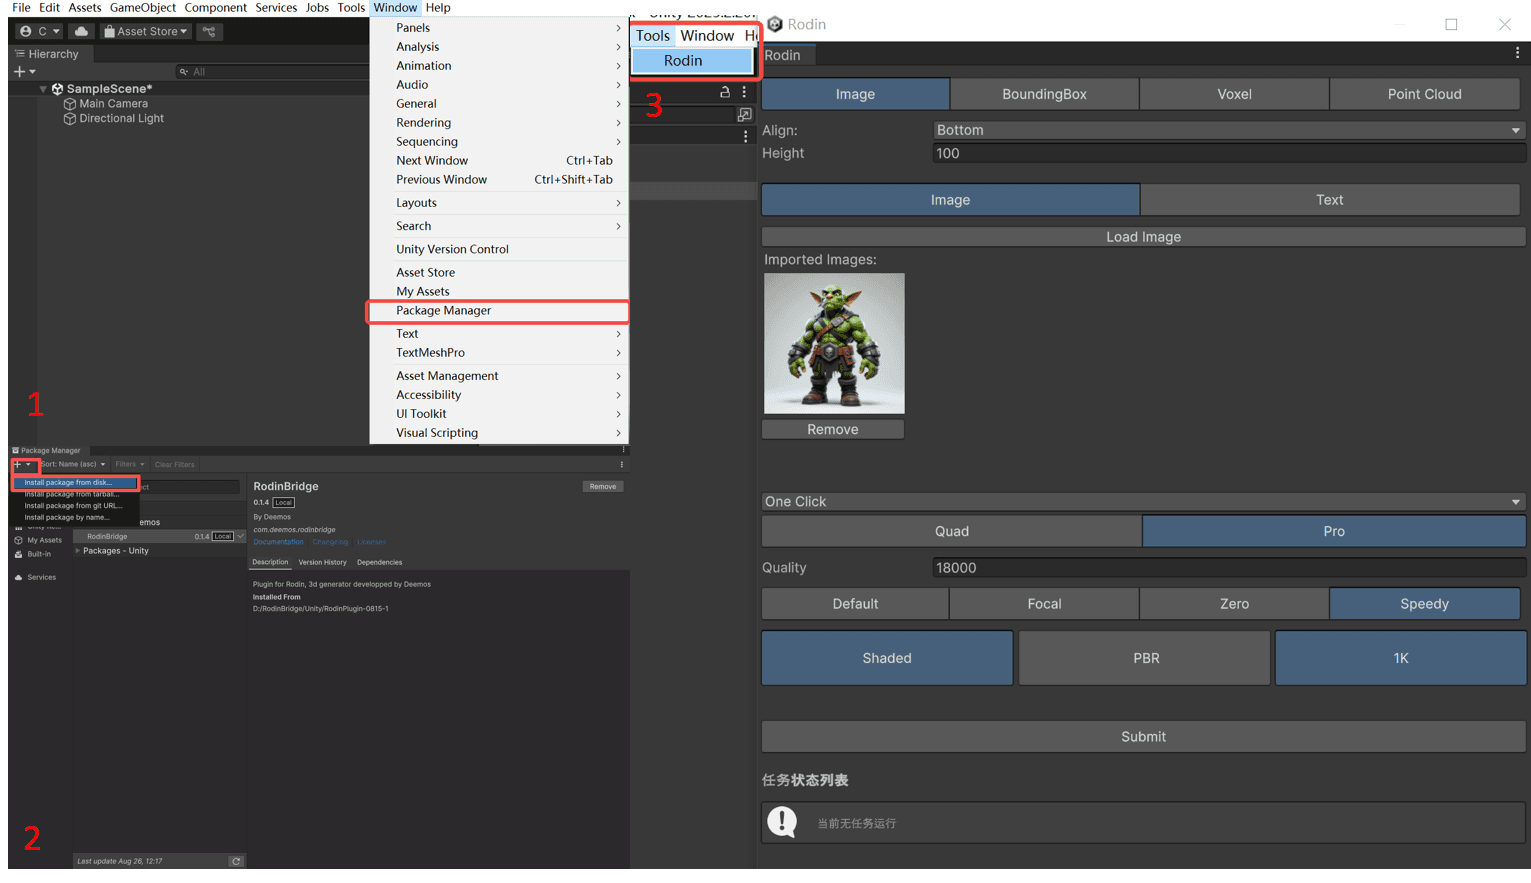
- Open a Unity 2023.x or later project and select Window > Package Manager.
- Select + > Install package from disk, then choose
package.jsonfrom the extracted folder. - Wait for Unity to import the package.
- Select Tools > Rodin to open the Rodin Bridge panel.
Basic usage
Some steps take place in Unity and others continue in the Rodin web interface.
Single-image generation
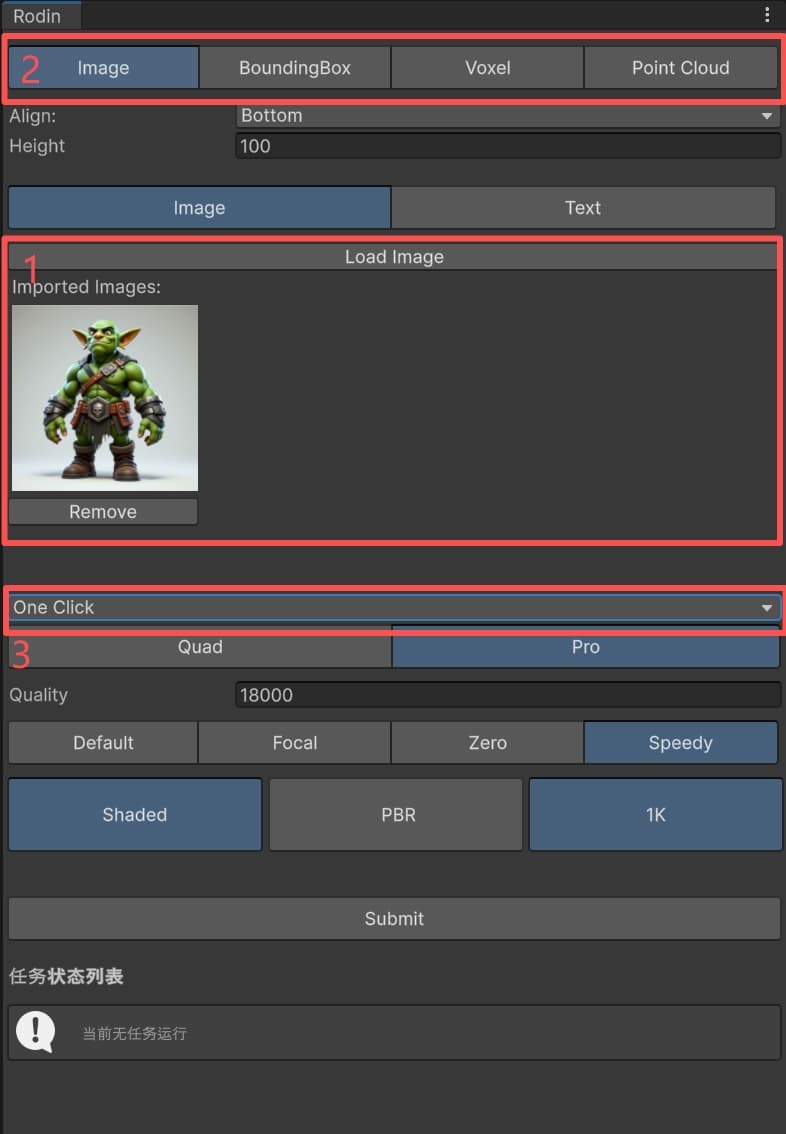
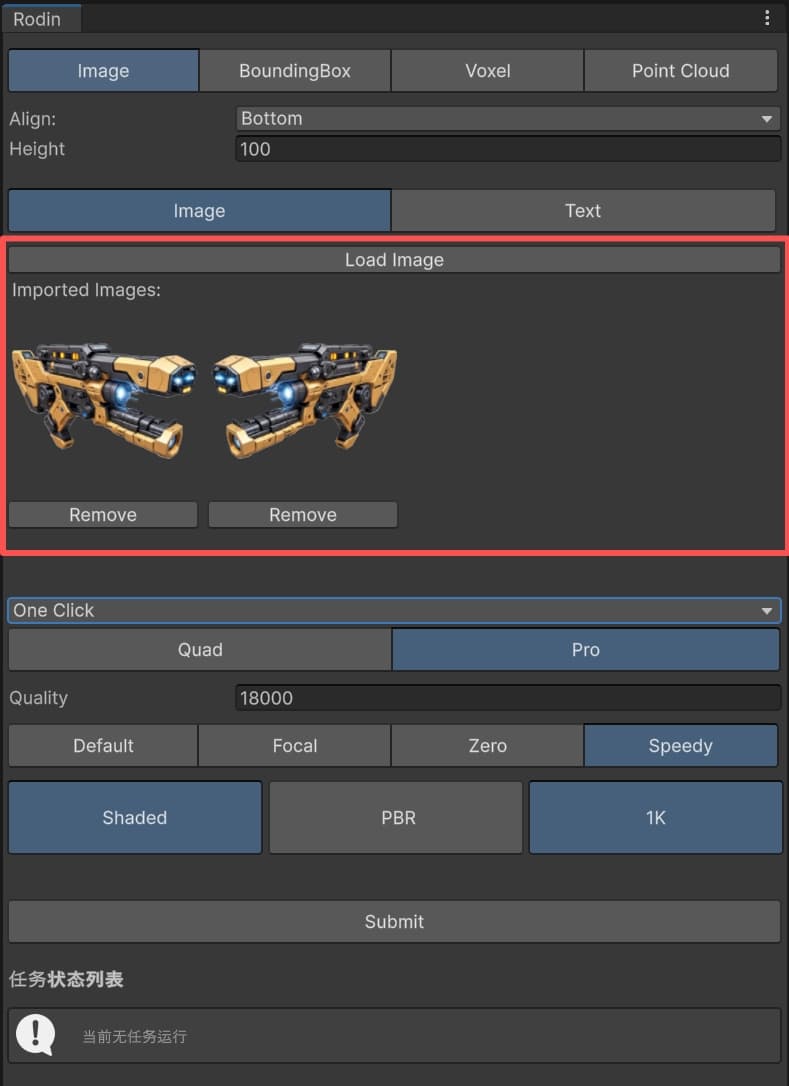
- Use Remove and Load Image to replace the default image.
- Set ControlNet to None and select One Click for an automated workflow. Adjust the remaining generation settings as needed.
- Select Submit to start generation.
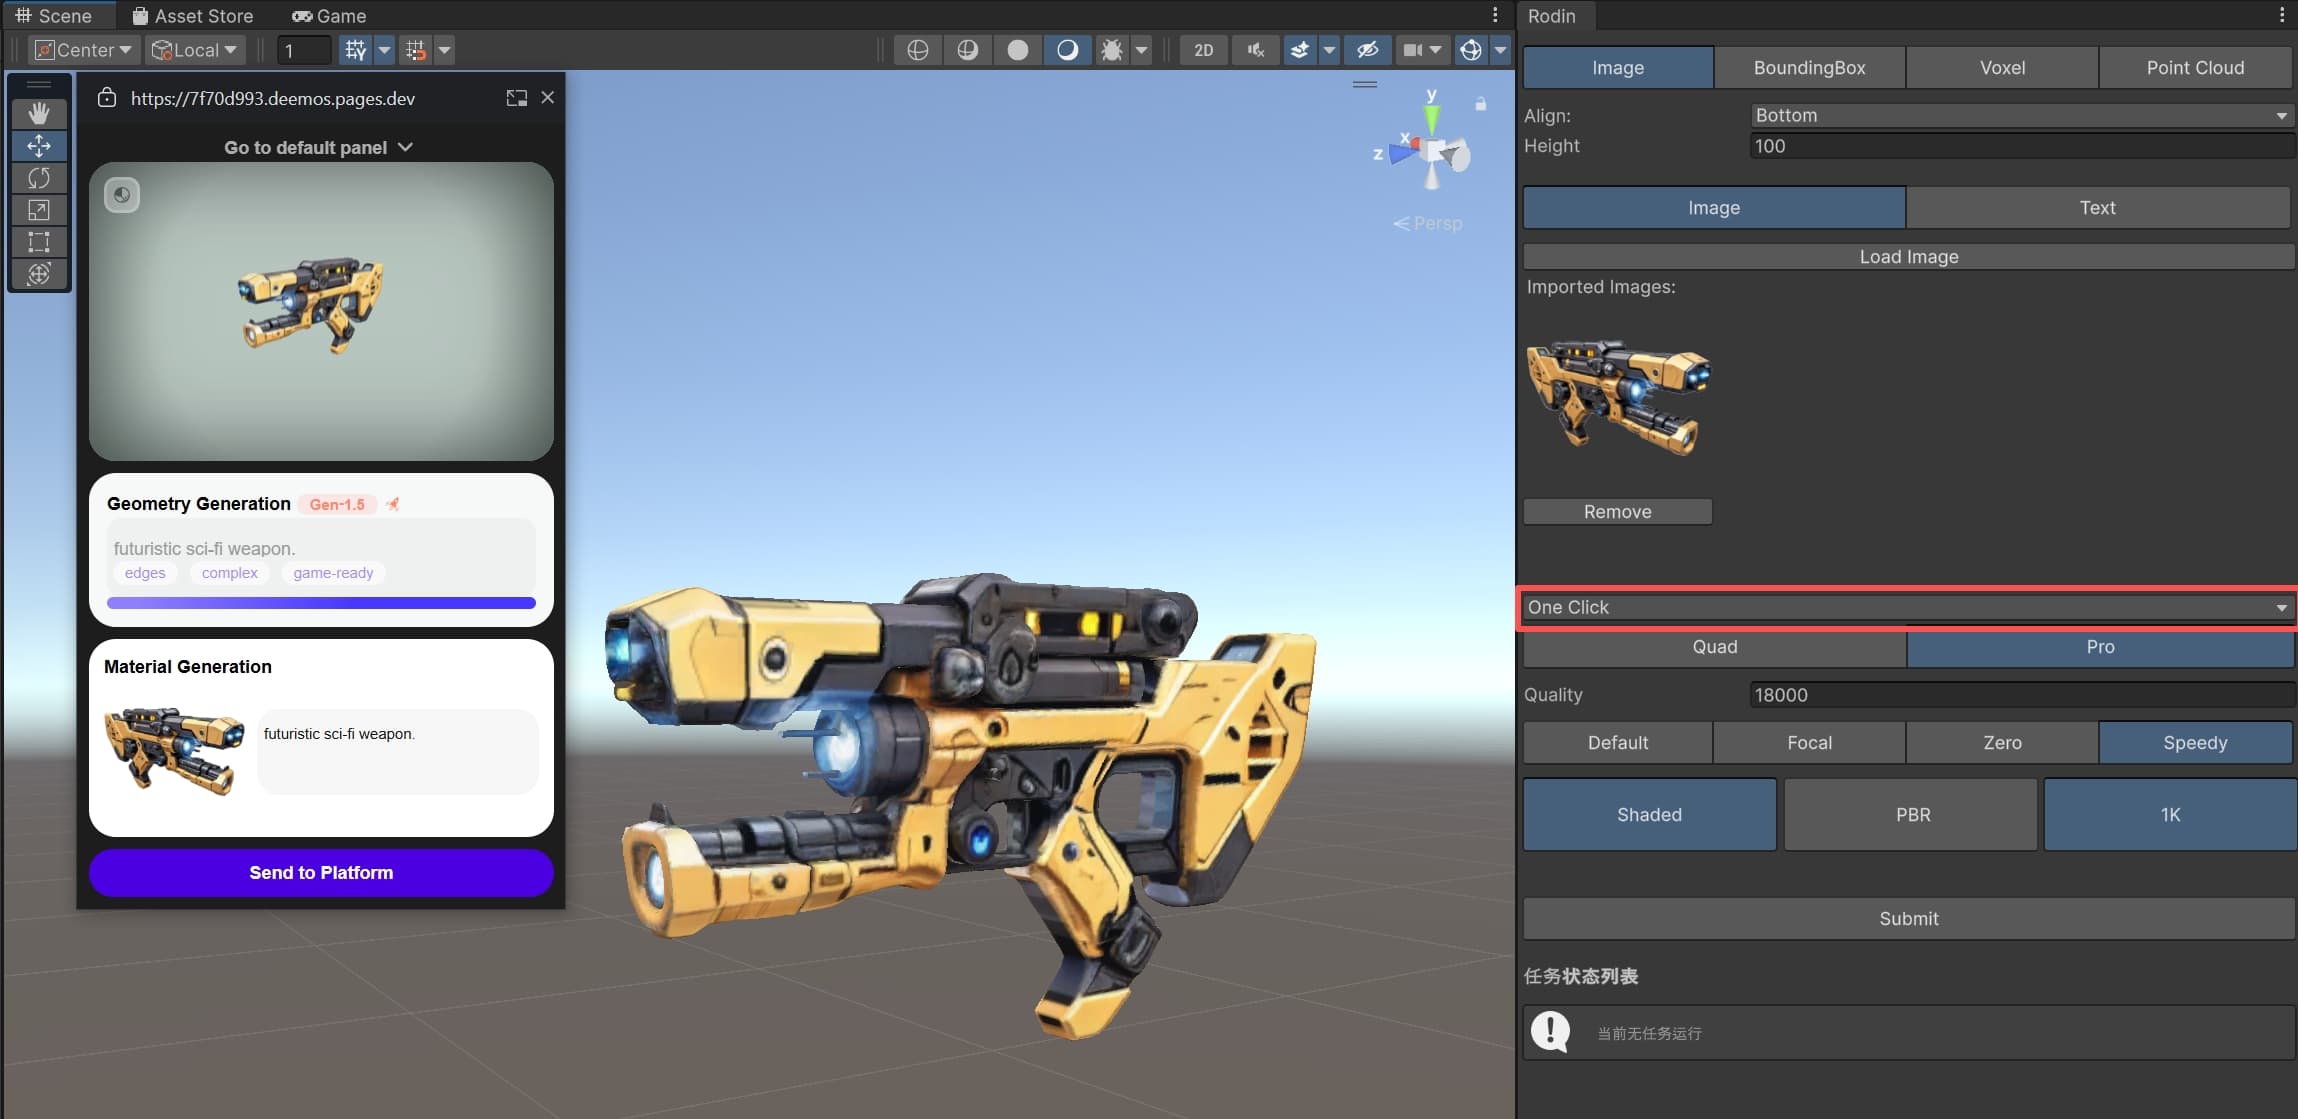
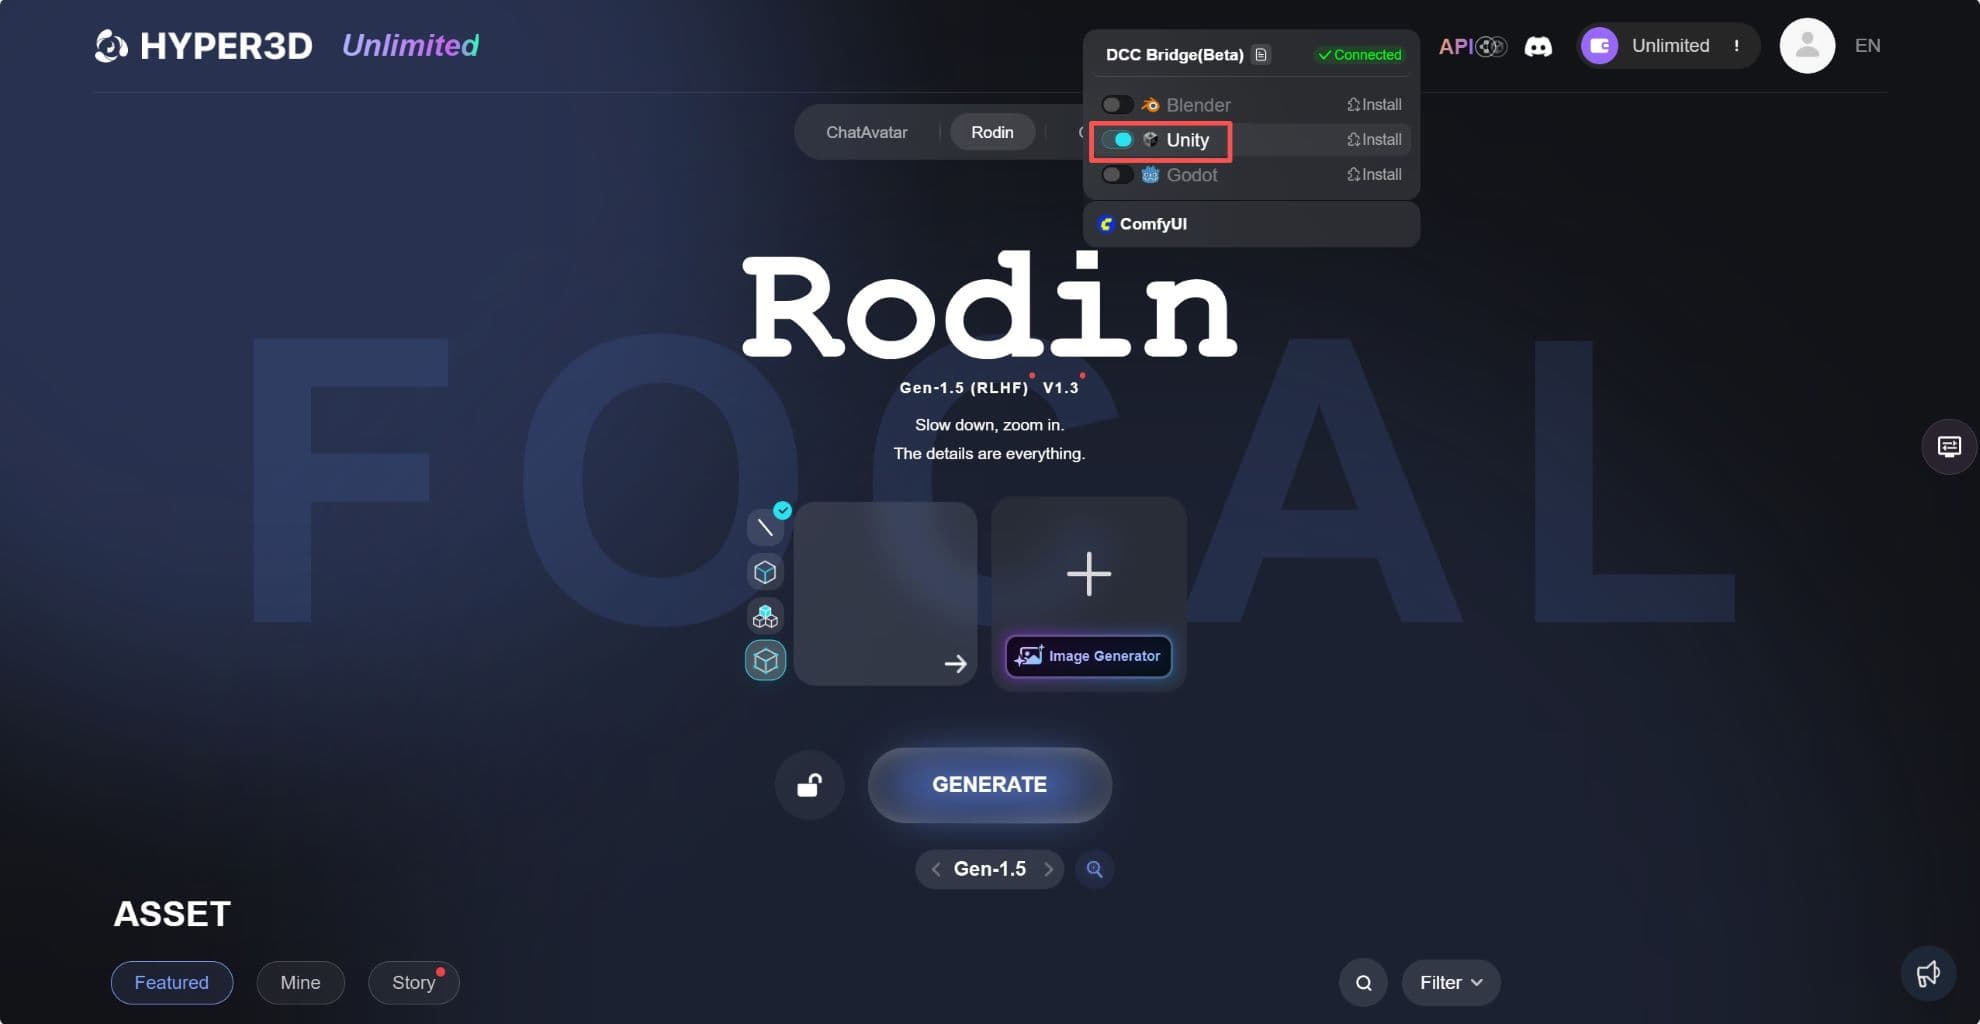
The Rodin web interface opens automatically if it is not already open. Enable its floating window to monitor progress. When generation finishes, the asset is imported into the Unity scene.
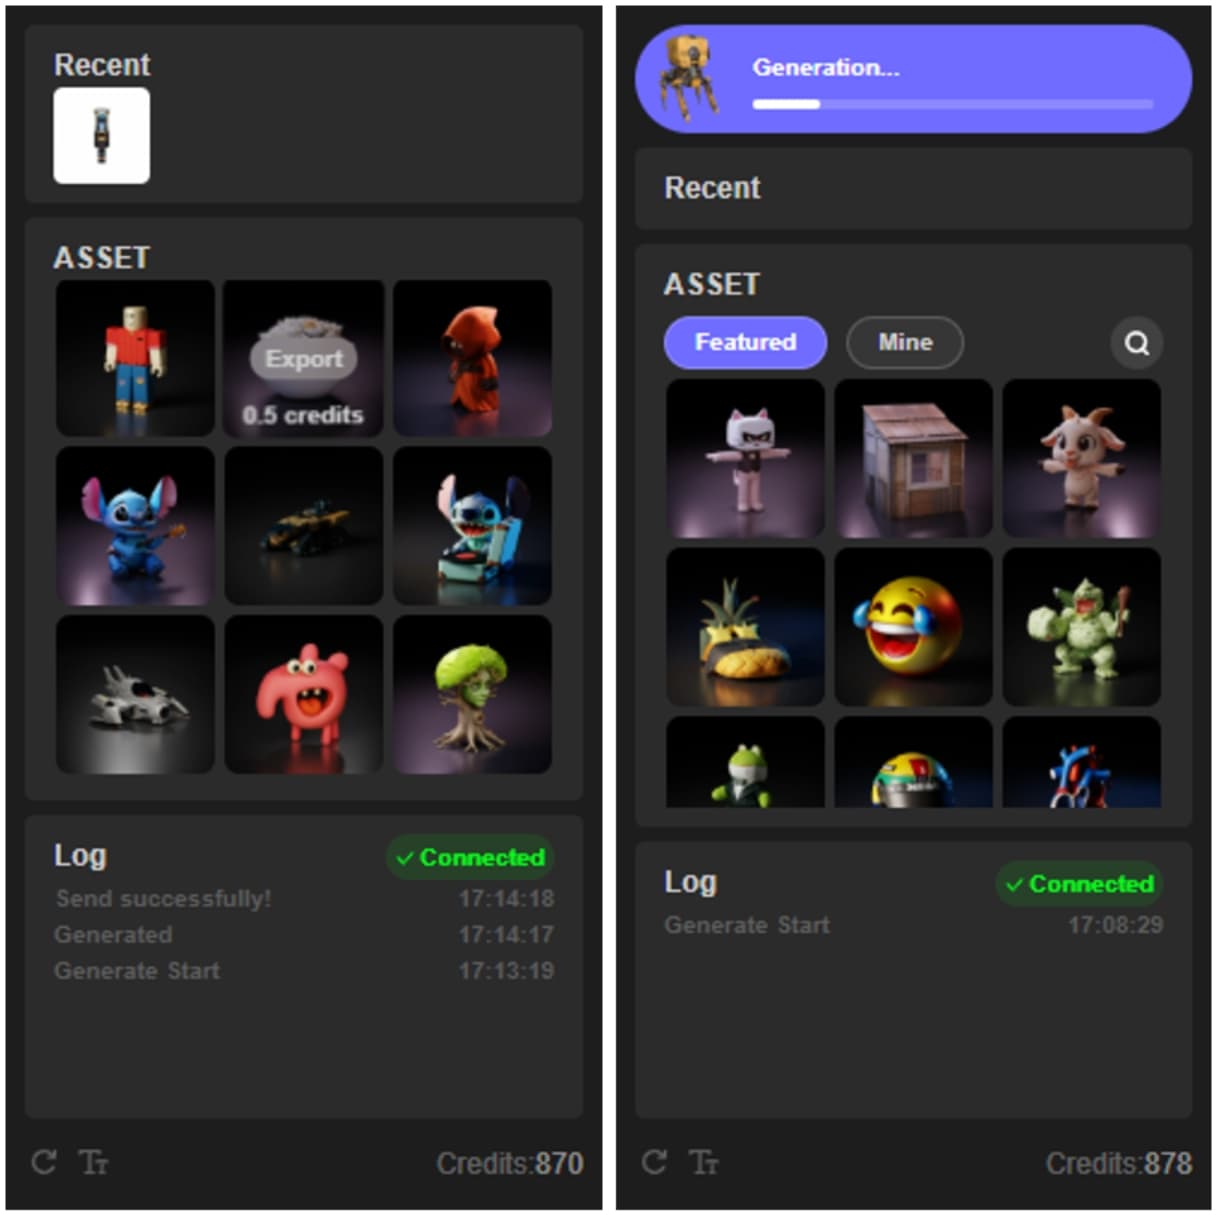
To import a featured or previously generated asset, hover over it in Rodin and select Export.
Advanced functions
ControlNet
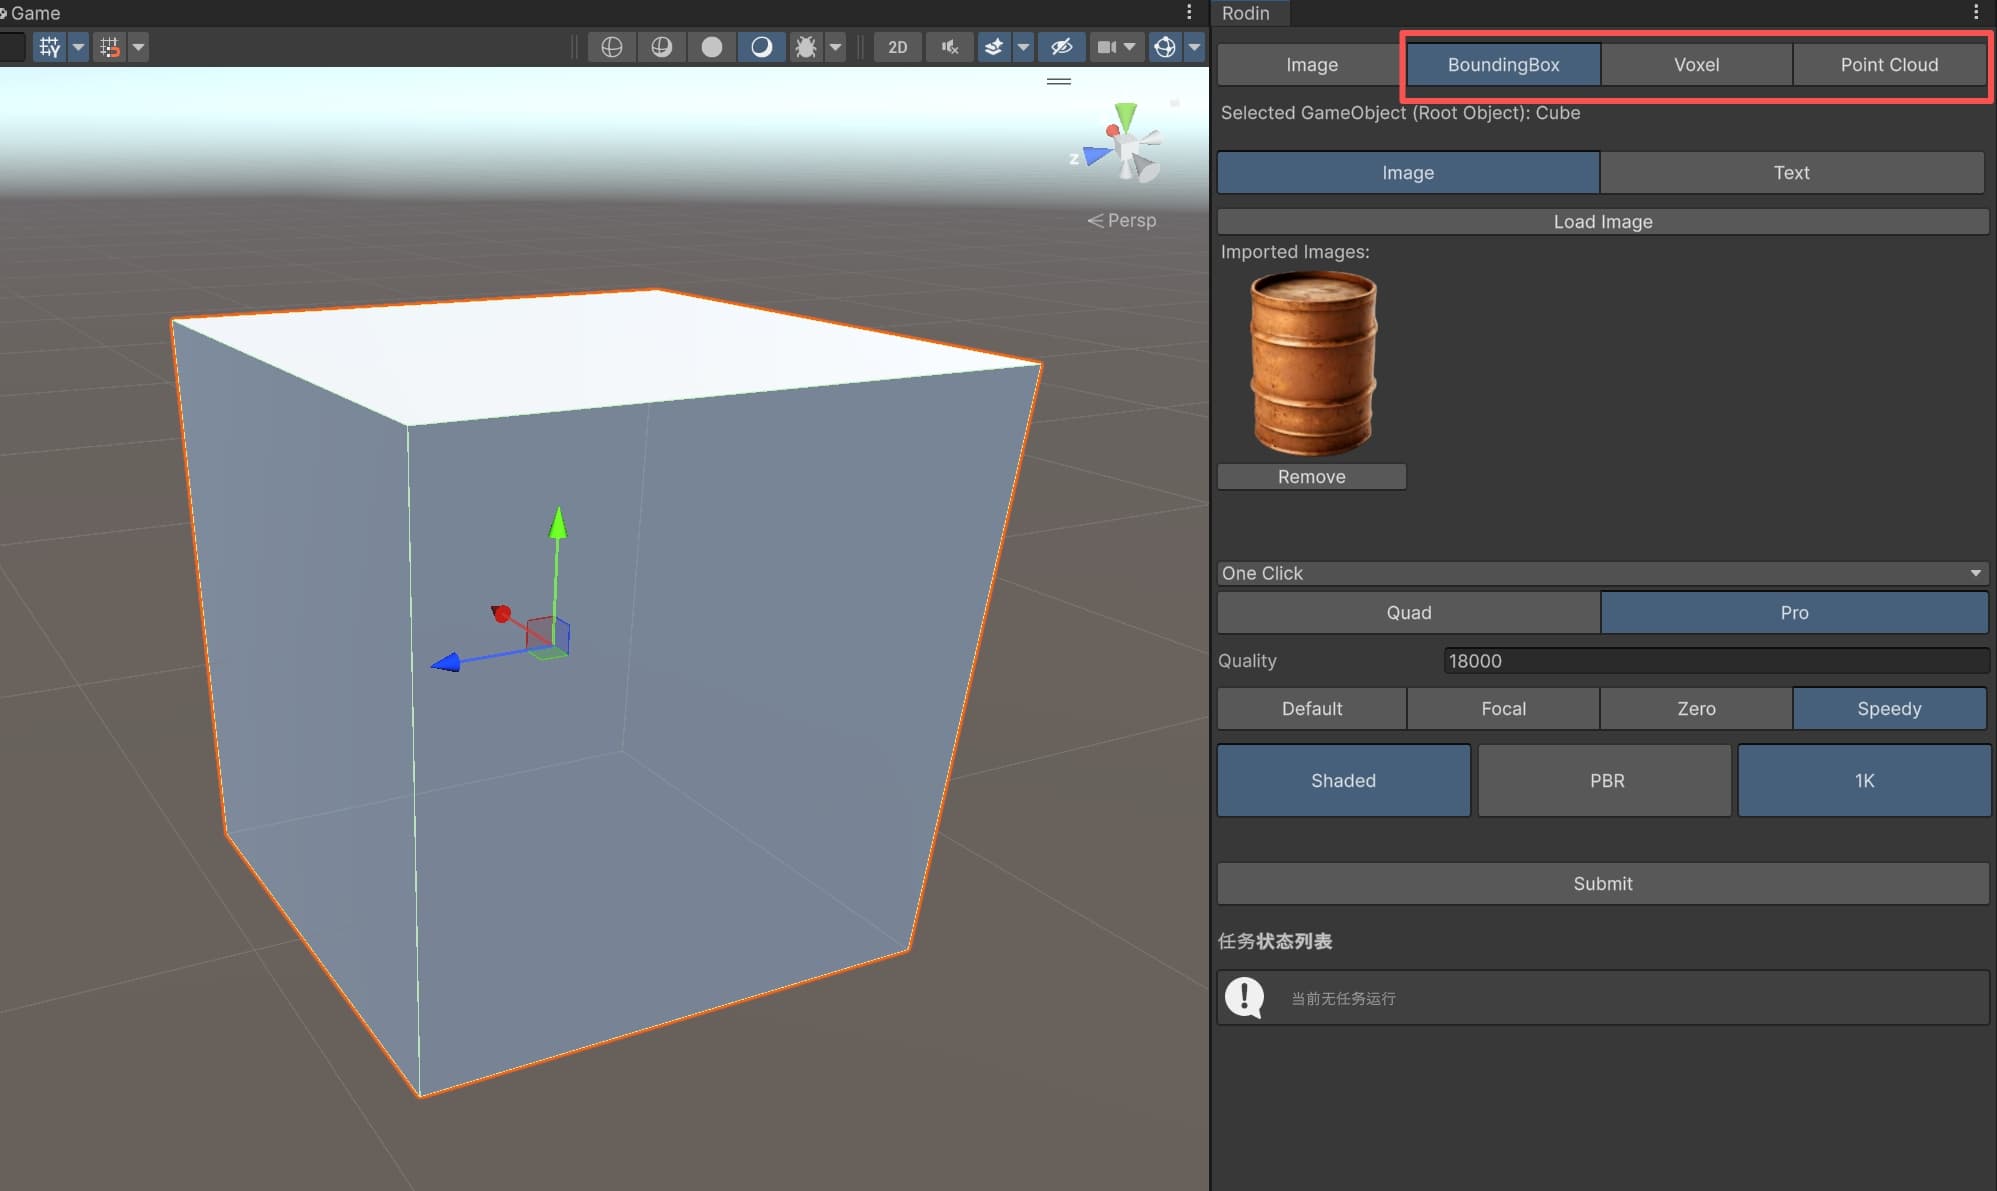
Select an object in the scene, choose a ControlNet mode, and adjust the available settings. The settings correspond to those in the Rodin web interface.
Multi-view mode
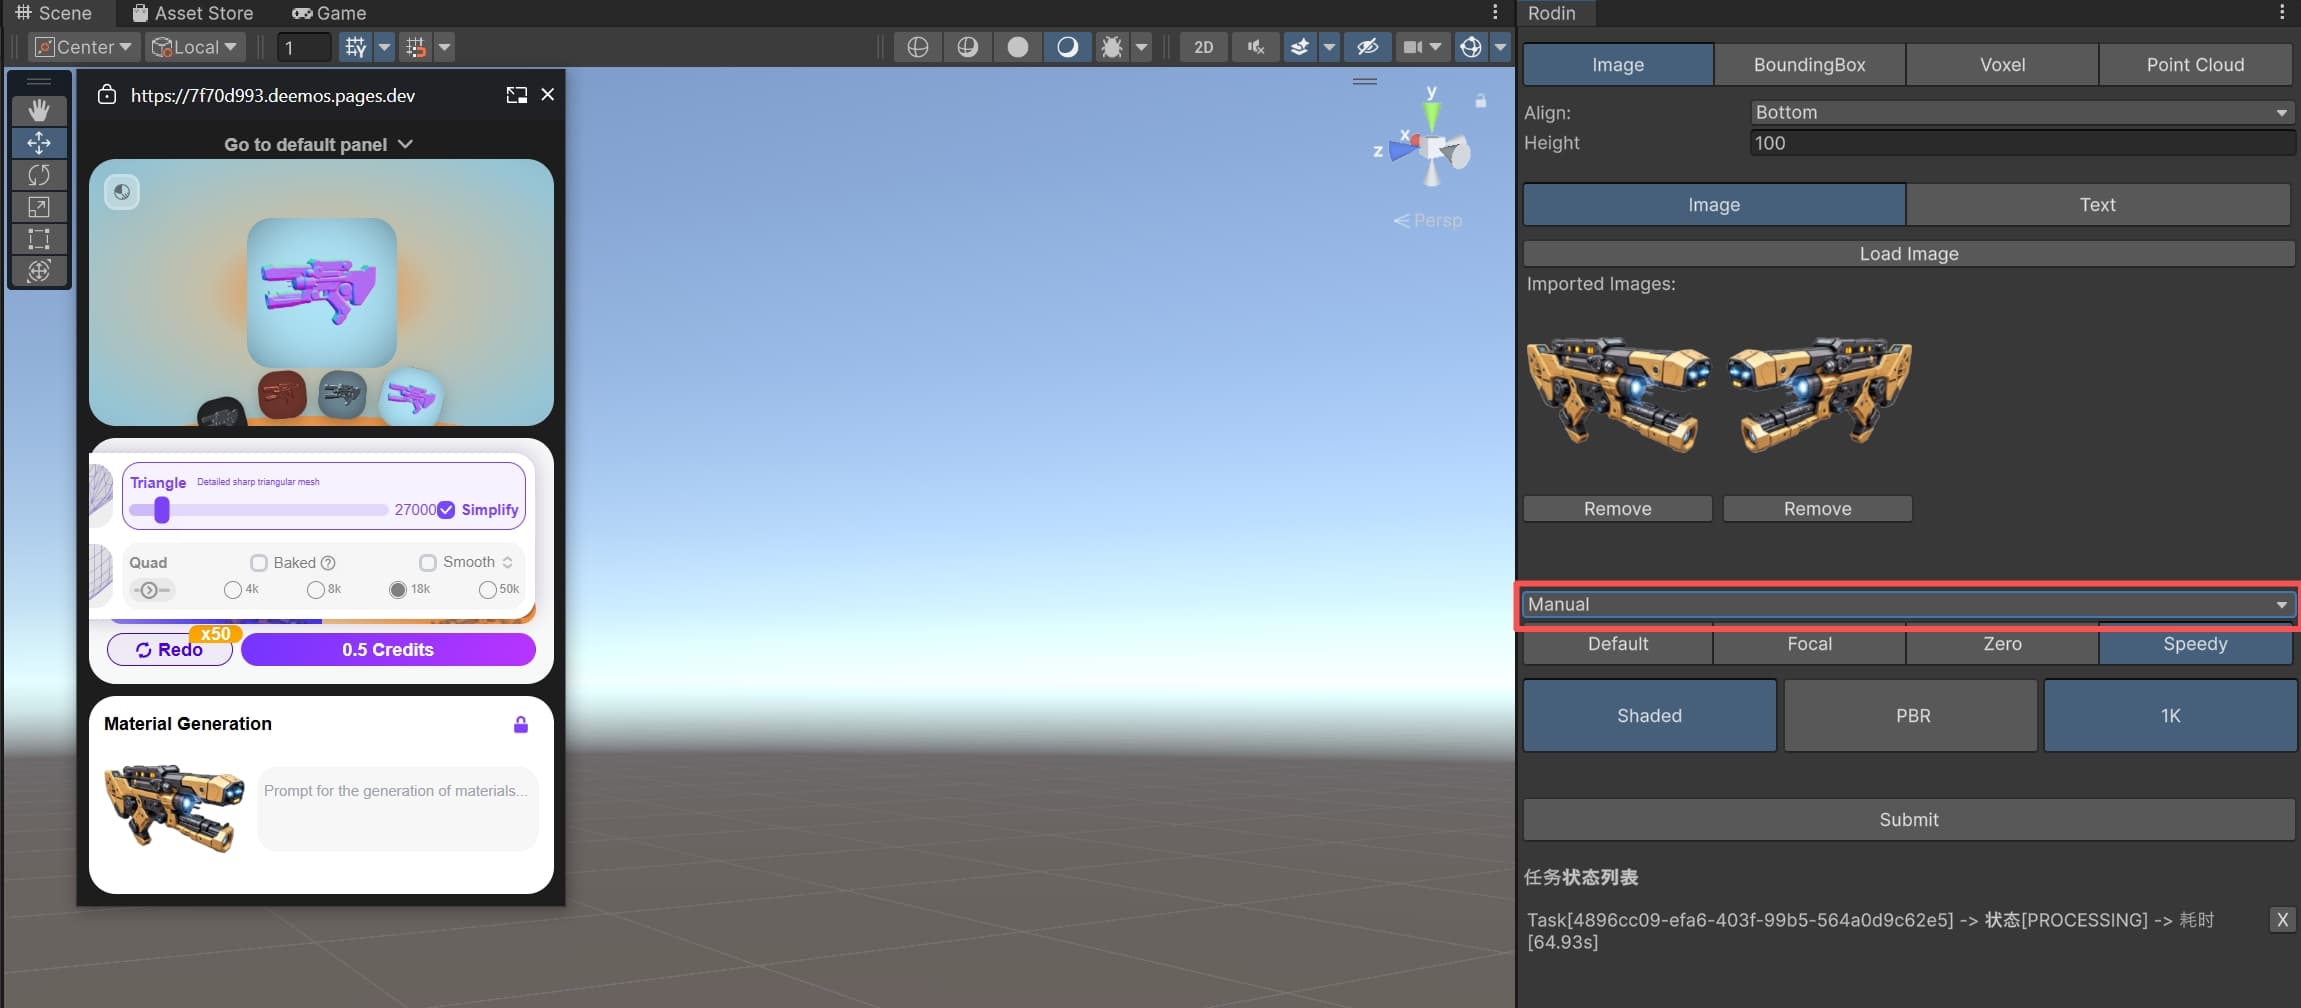
Use Load Image to add multiple input images. Rodin treats them as views of the same object for multi-view generation.
Generation mode
One Click runs the generation flow automatically. Manual requires you to complete each stage in the floating window, following the same flow as the Rodin web interface.